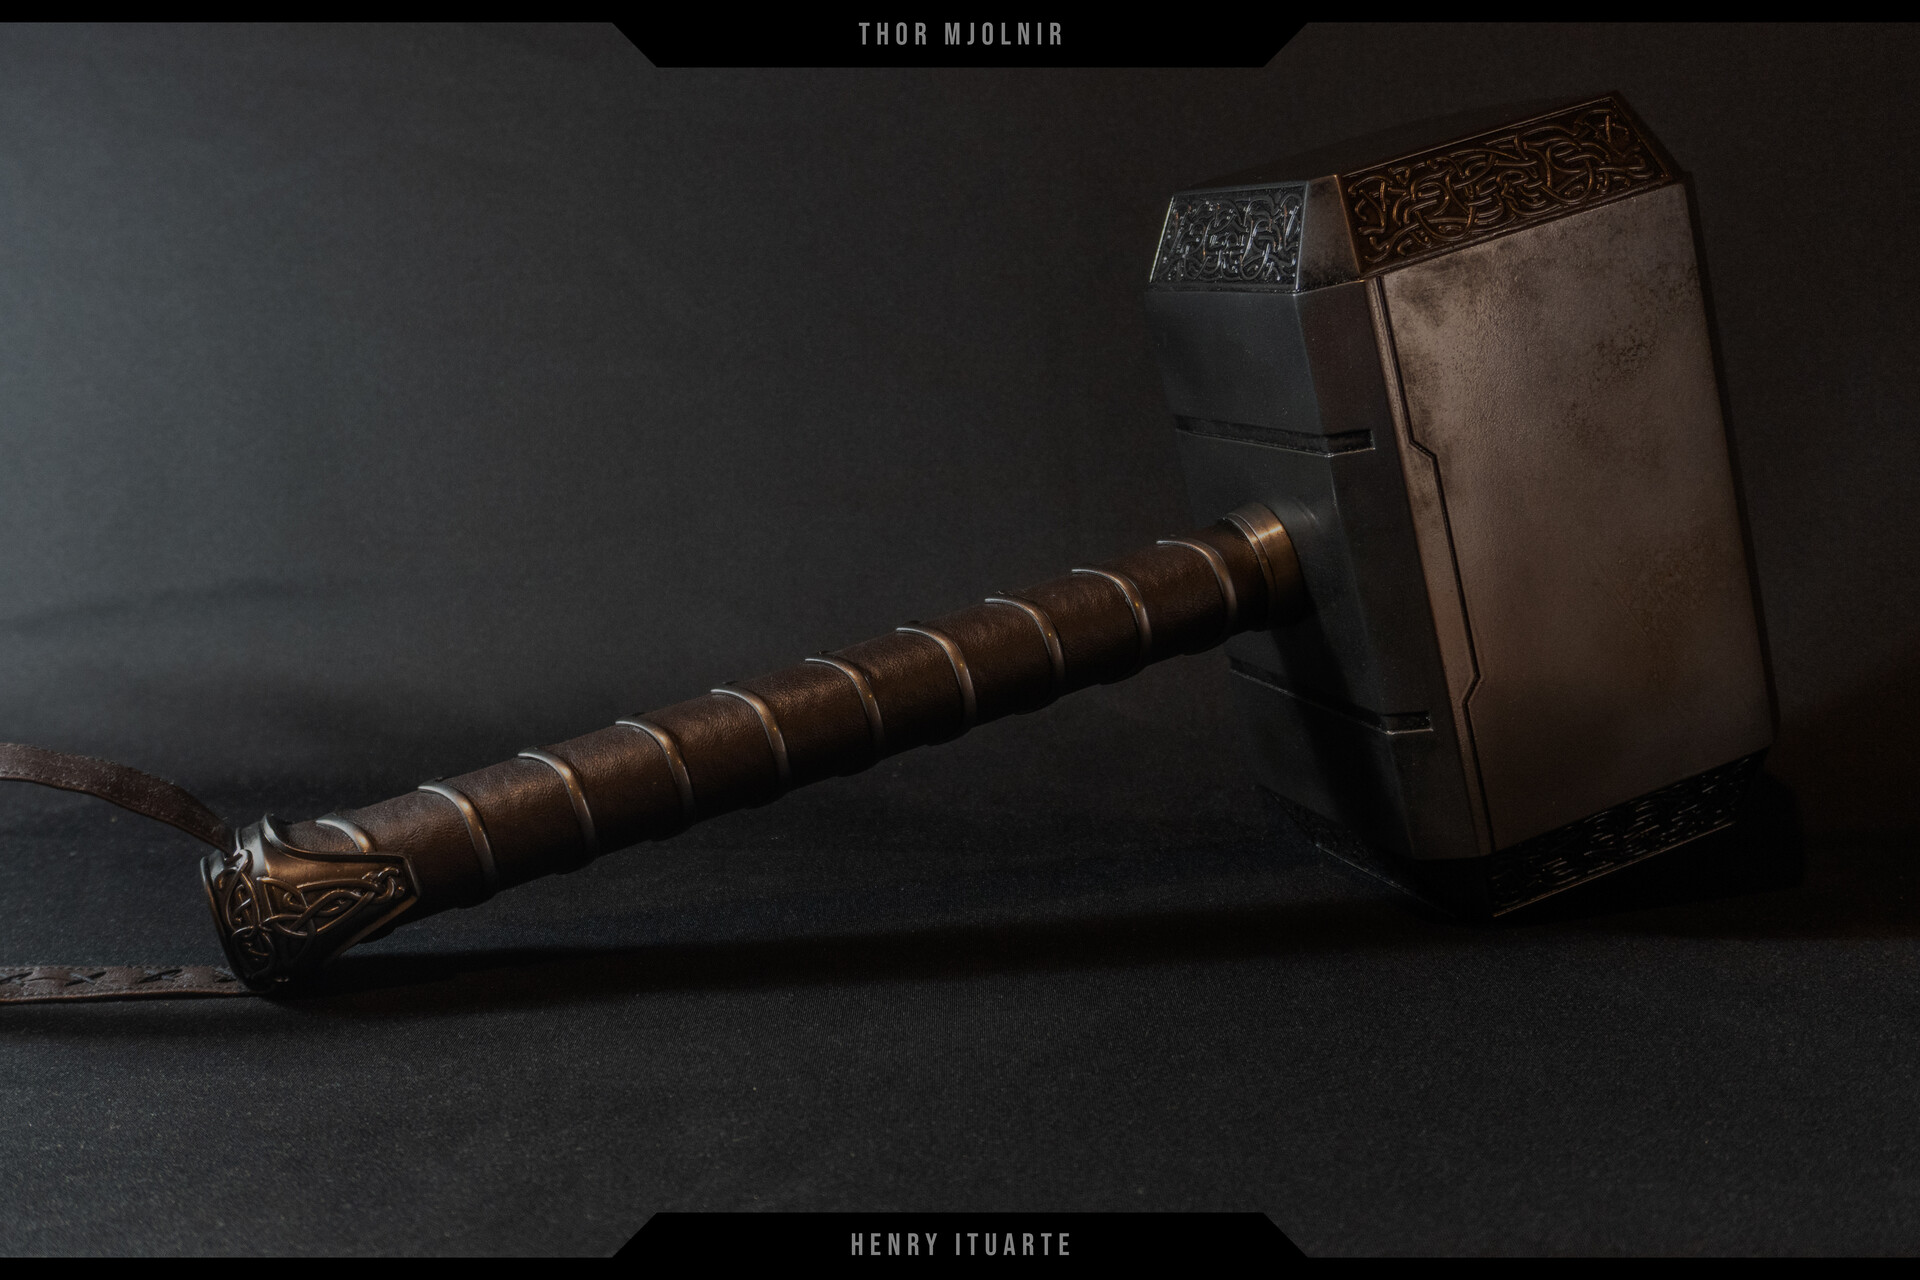
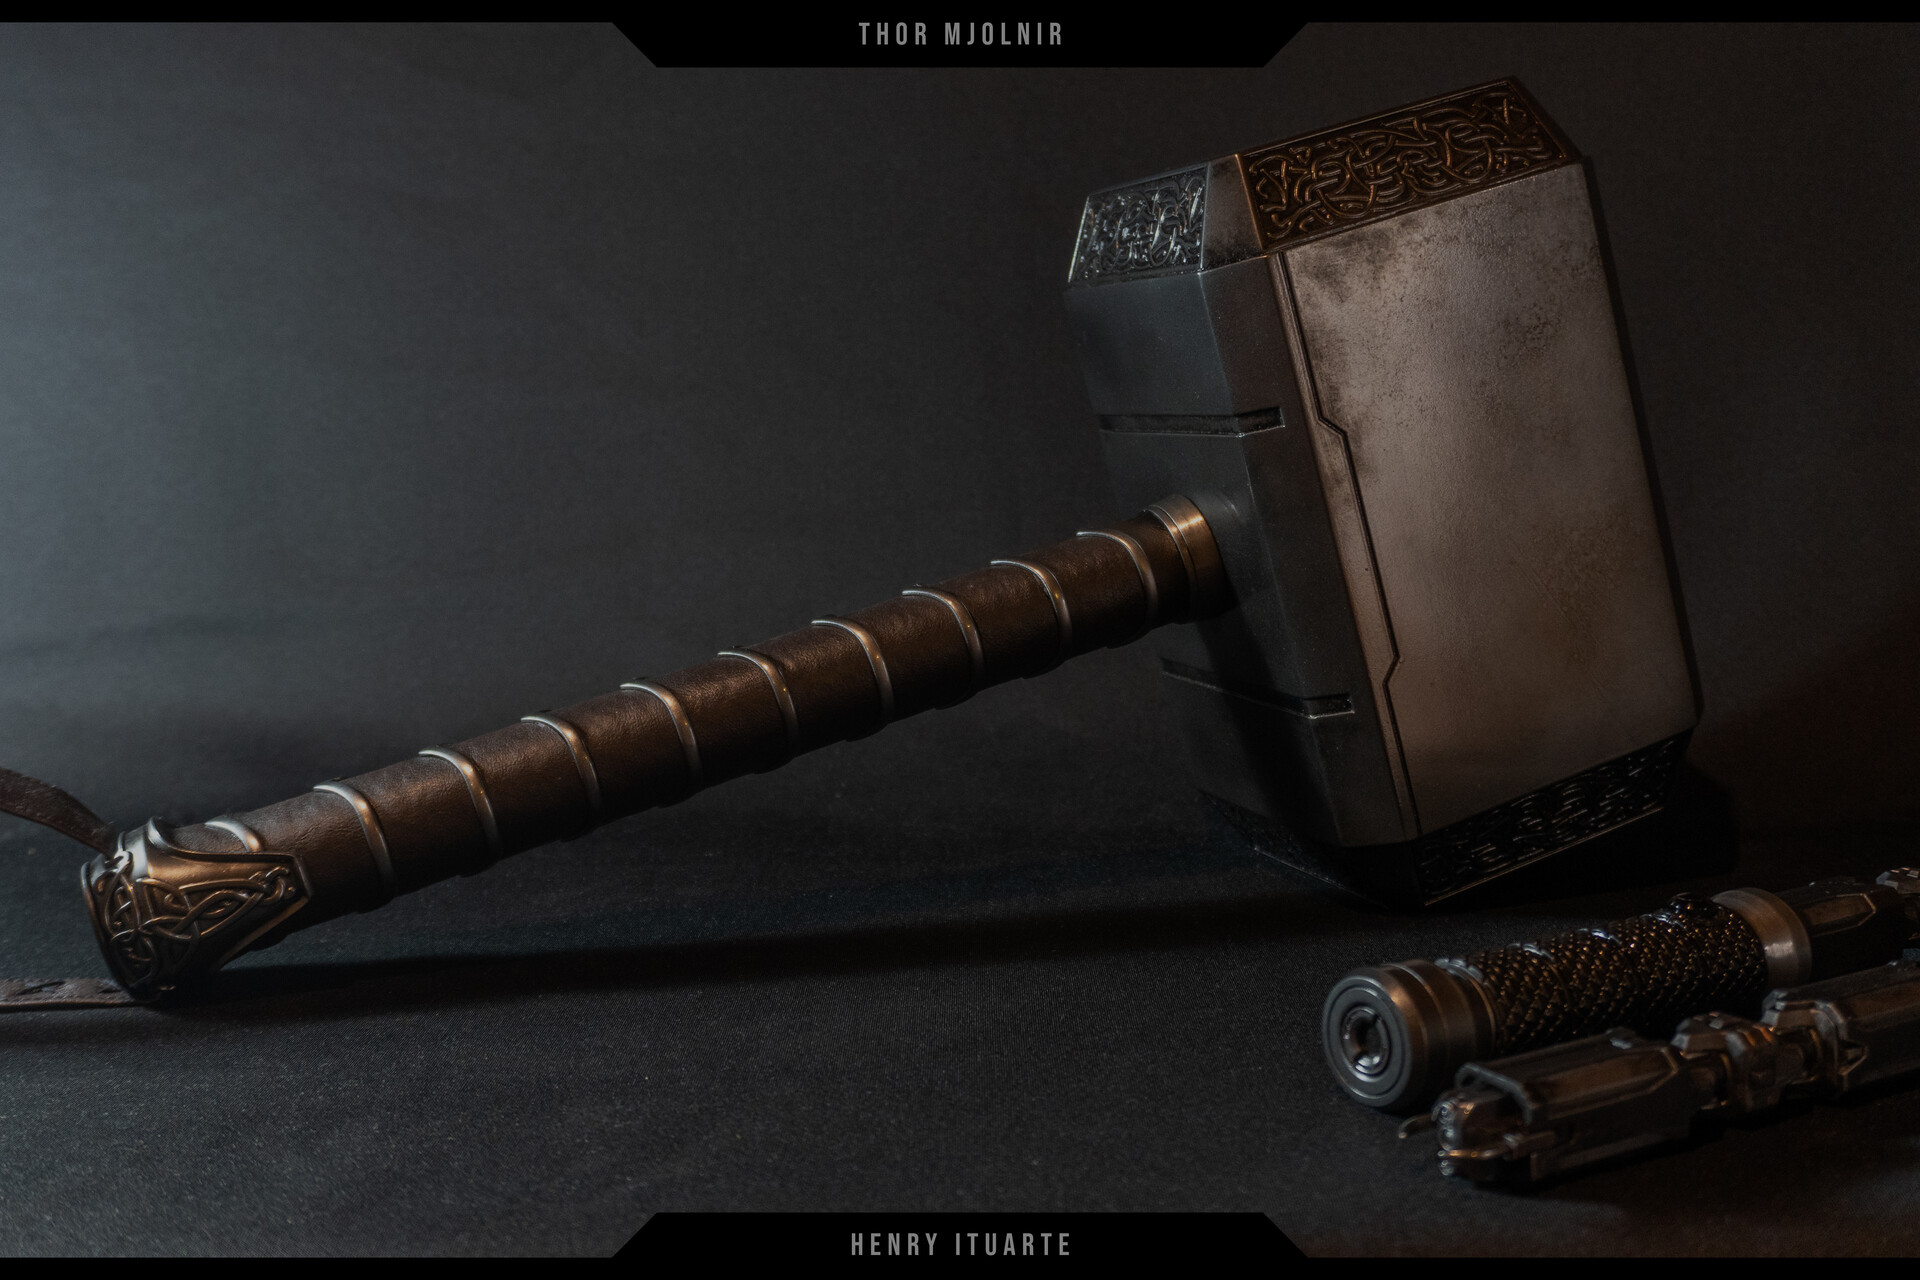
Thor's Hammer Mjolnir, painted with Alumaluster.
It's been two years since I made my first Mjolnir. That first one was the first prop I ever made and painted. It was time to revisit it, fully 3D model it again for functionality, and painting using the techniques I know now.
Painted with Imperial Surface Alumaluster, Alclad II paints, weathered with oil paints, naptha, alcohol inks and other techniques.
I can disassemble the hammer, and even spin it around safely! And of course, it is perfectly balanced in weight. Absolutely in love with how it turned out.
For more information about the paintjob, go visit my Youtube Channel (Henry Creations) and watch the free workshops I did. For information on the 3D model, go to my 3D renders on this same Arstation page.
It feels great to have a new hammer, I took it to the city and people were distracted by how metallic shiny it was, so I got compliments and that made my day.


I wrapped the handle with my favourite fake leather, tracing it with custom tools I designed and printed.

I made the strap as well and hand stitched the crosses.

The strap is sewed and secured inside with a threaded rod and nuts that keep the whole hammer together.


I tried to find the sweet spot with the weathering, not too beat up but not too clean.


Here are some more pictures, this time taken at a beautiful waterfall in one of my favourite rivers.


